The first part of this exercises focuses on dust correction.
I used to have much more of a problem with this, before I started cleaning my
sensor myself. So I have delved into my archives for a great dusty image, taken
in France on our roadtrip of 2007, in Avignon.
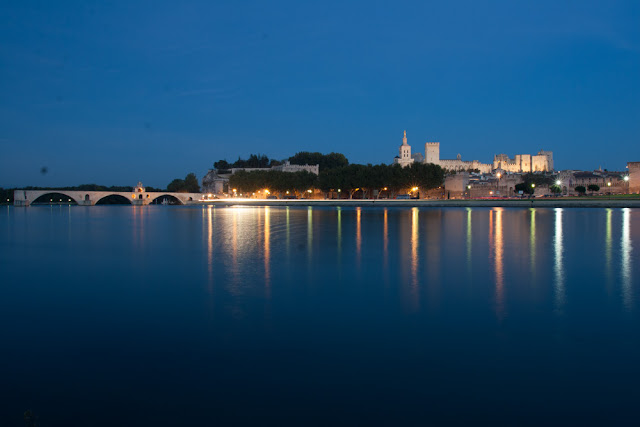 |
| Image with many examples of dust spots clearly visible |
The night-time conditions are particularly suitable for dust
– long exposure against a clear sky and reflective water.
The dust spots were quite simple to remove, using the clone
stamp in Lightroom. When zooming in at 100%, I also noticed a small bush in the
lower left hand corner which I had not previously noticed! The dust marks were
all quite obvious in this image, though I’m sure I have missed some on the
buildings and other areas where it would not be possible to tell which was dust
and which real. To be honest this does not bother me – I choose to remove
things that I think should be removed, though I realise this is because my
images are only created for me, not for journalistic or other purposes.
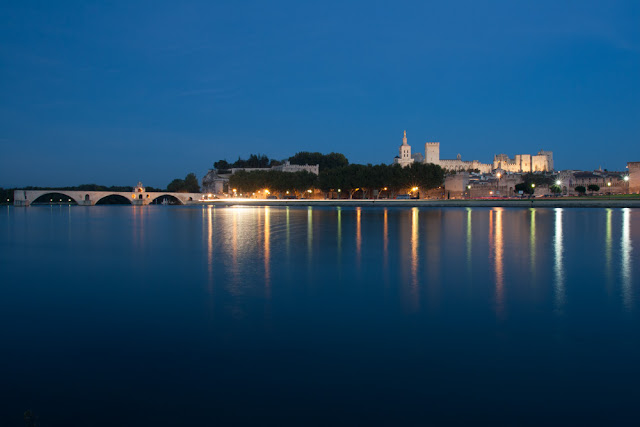 |
| Dust spots were fairly quickly removed using the clone tool in Lightroom |
I also cropped and tweaked the image slightly and display
below.
 |
| Image has been cropped, optimized and slight adjustment of curves in Lightroom |
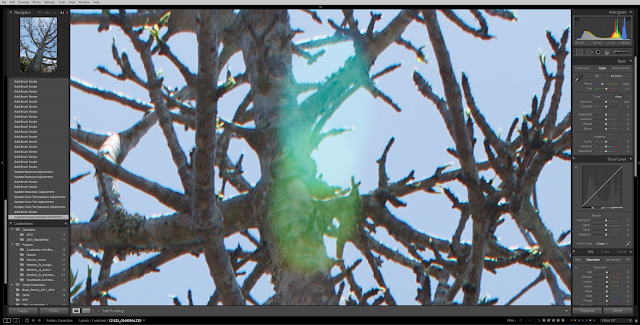
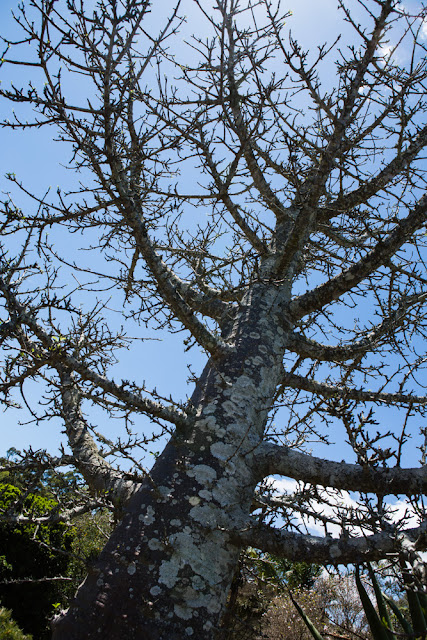
The second part of the exercise is looking at lens flare
correction. I chose an image that I took recently at Mt Coot-ha Botanic Gardens
specifically with this exercise in mind. The image is looking up at a large
tree, with the sun behind one of the branches.
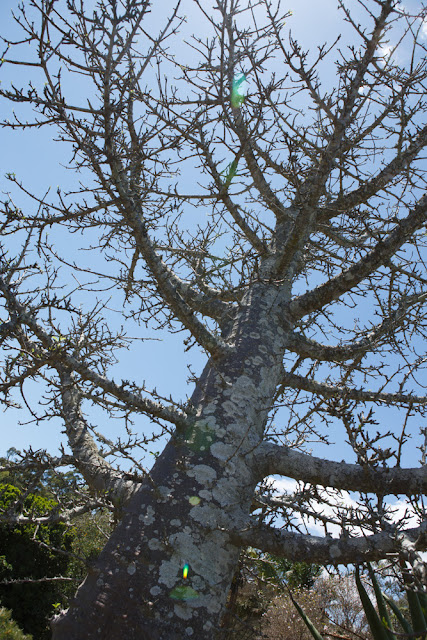 |
| Lens flare down the centre of the image |
Most of the lens flare was removed relatively easily in
Lightroom. I used an adjustment brush set to desaturation and underexpose by
about half a stop or so (adjusted as necessary). This effectively removed most
of the lens flare, for example on the trunk below.
 |
| Example of colourful lens flare on tree trunk |
 |
| Desaturation has removed the colour effect |
 |
| The clone tool finishes off the job |
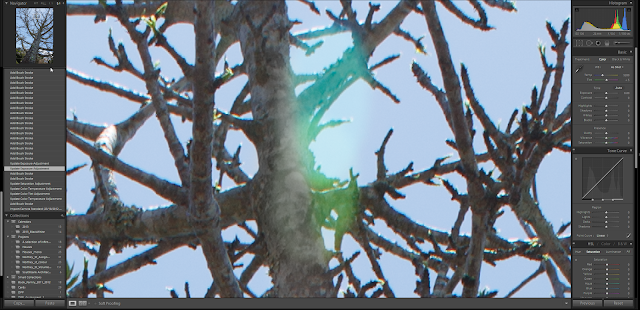
More difficult was the area at the top of the image which
included some sky which was a different colour as a result of the flare, and
some awkward to remove flare on the trunk – the trunk was noticeably paler than
it’s surroundings. So I went into Photoshop with my image from LR and did some
further adjustments using the clone tool. I set it to darken as suggested in
the notes, and used it to adjust the colour of the sky and trunk. The result is
quite convincing, though I can imaging it would be more difficult with other
subjects (I recall seeing someone’s wedding photos with flare over half the
wedding party’s faces – that would be a bit tricky!) I think it might be
possible to remove using colour management – for example using tinting or
colour balance in a mask, but I have not tried that for this exercise.
 |
| Difficult to remove flare on tree and sky |
 |
| Desaturation works effectively on the trunk, but the exposure is still wrong |
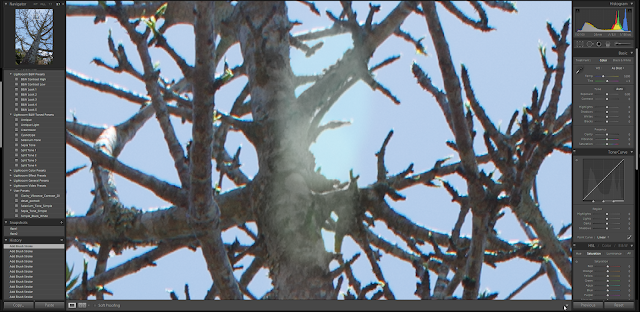 |
| The finished result in Lightroom, but I know it needs further work with the tools of Photoshop |
 |
| Bringing the image into Photoshop, and using the clone tool on the sky (to adjust the colour) and trunk |
 |
| The finished product in Photoshop looks convincing even at this zoomed in scale |
 |
| The finished result, optimized slightly in Lighroom (before it was taken to Photoshop) and all the flare removed. |
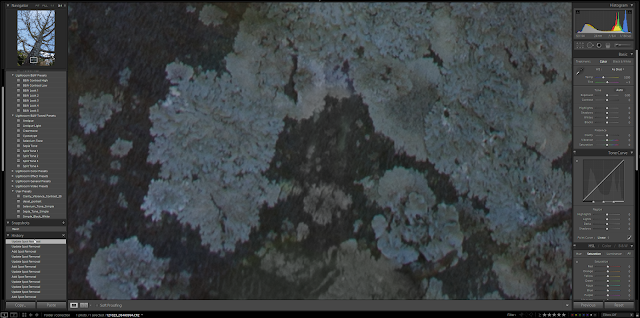
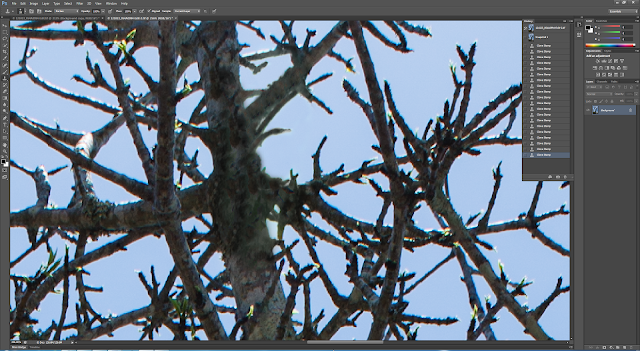
Note that there are some other colour abberations on the trunks - are these considered flare? I don't know... I guess it's personal and needs to be considered depending on the use case for the image perhaps. it certainly would be difficult to remove for all the branches in this image!
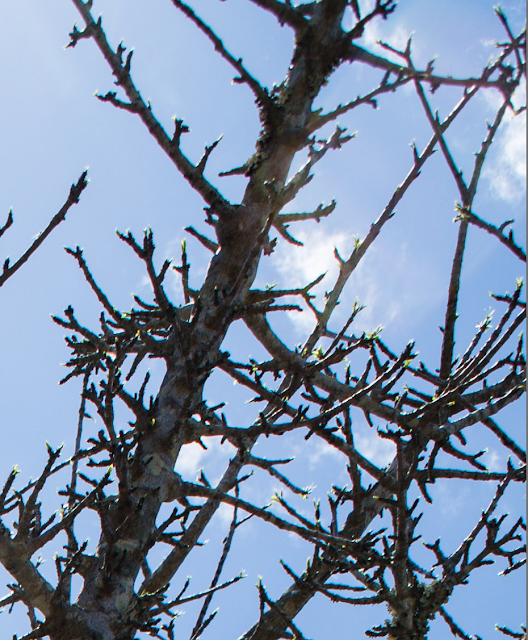 |
| Colour fringing on tree trunks - is this flare? |
I think in general it is best to avoid taking photos with
flare if you don’t want to include it creatively. It can add to an image, but
it is a bit painful to remove. In terms of what I think is ethical – if it is
for personal use or if it is stated that there is some removal of photographic artefact
then there is no problem. A problem may come about with use for journalism for
example.


No comments:
Post a Comment