Aim:
Adding elements from one image to another, in this case the fairly simple method of replacing a sky.
Procedure:
Same scene, two exposures - one for the landscape, one for the sky. The difference may be one or two stops.
Bring the two images into Lightroom, and then open in Photoshop.
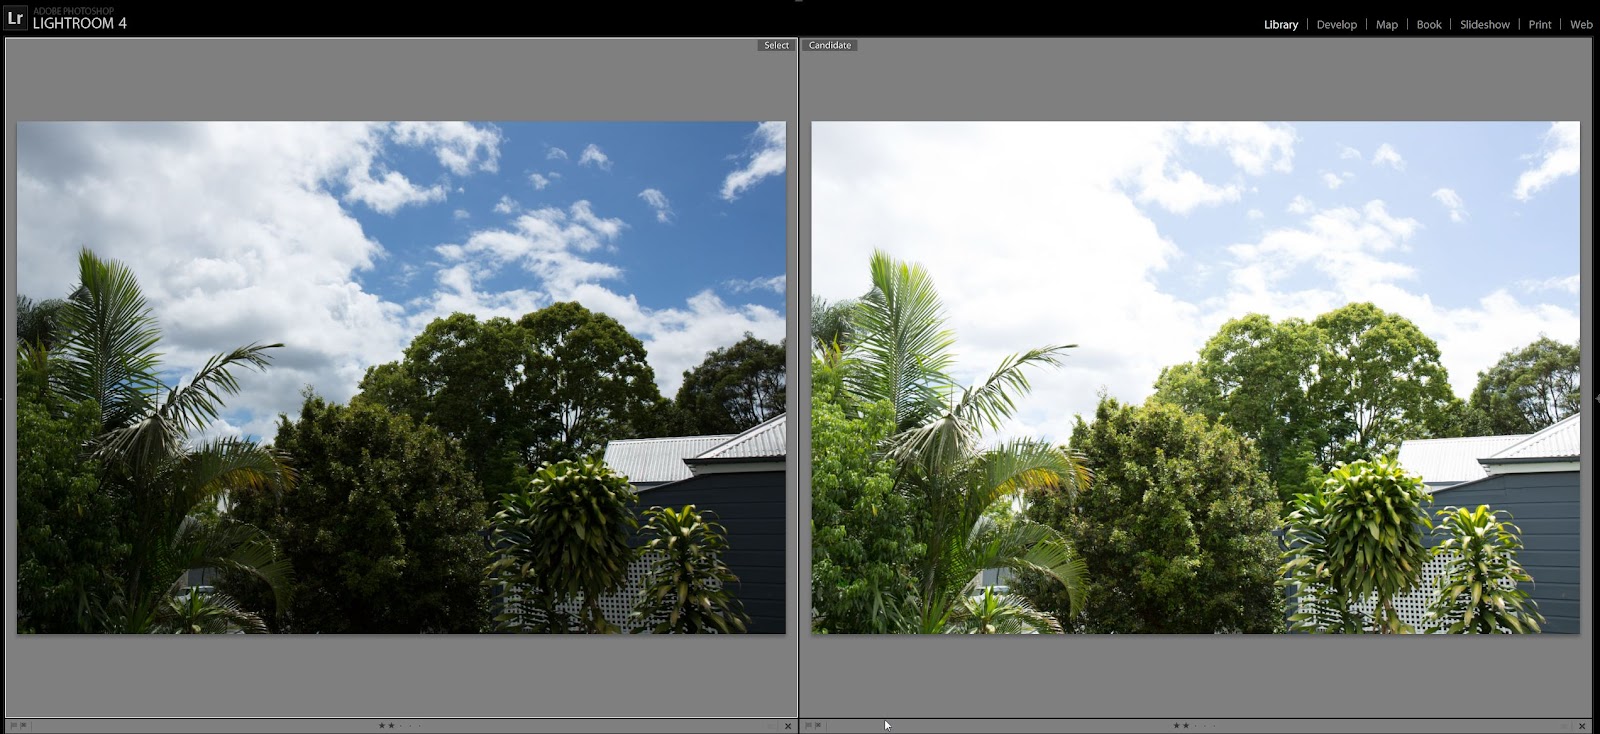 |
| Two images, left exposed for sky, right exposed for landscape |
We are advised to not do any highlight recovery, though I did do a little just for the roof which was slightly overexposed in the right hand image.
First erase the sky in one (I used a layer mask drawn with a soft brush). In the image below you can 'see through' the layer:
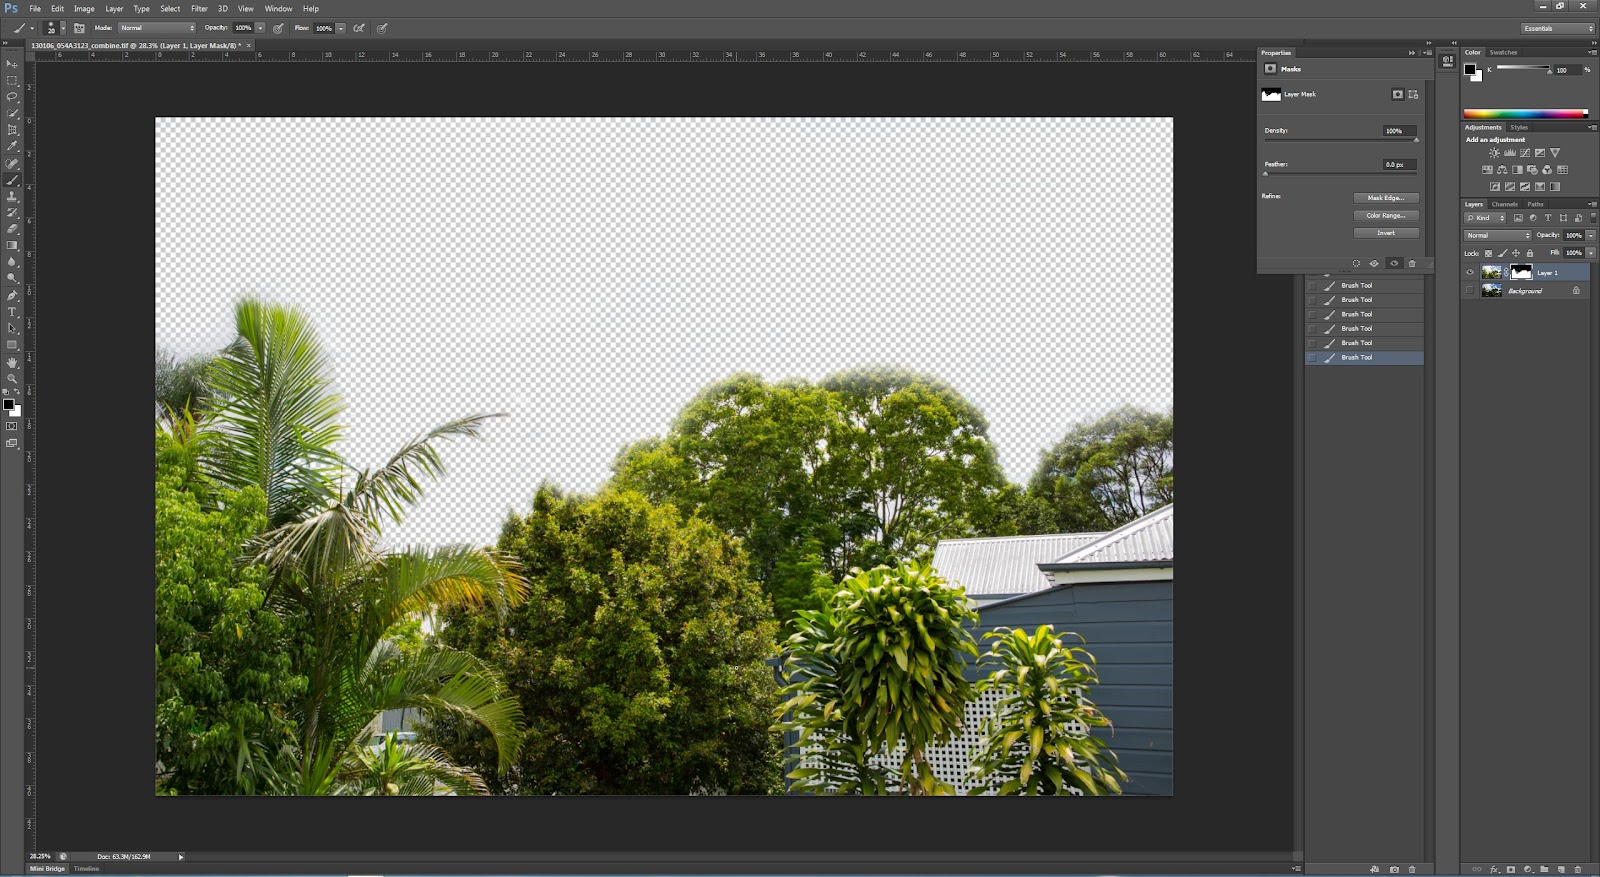 |
| sky erased using the mask option and a soft brush |
This is the resulting image
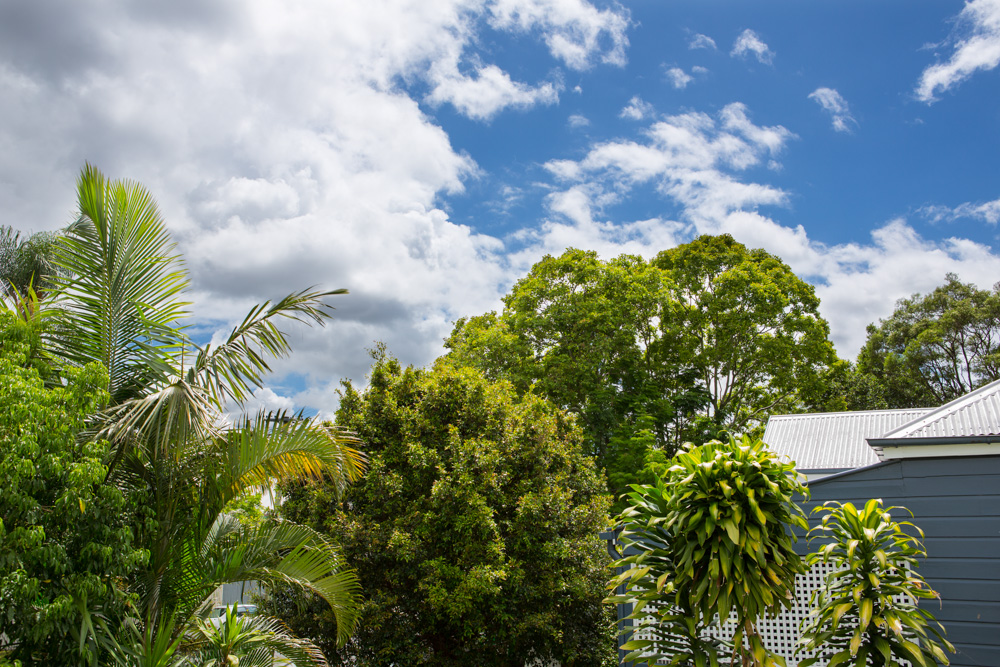 |
| Image created from masking the overexposed sky using a brush |
There are some small artifacts particularly amongst the various tree branches.
Then I used the Blue channel to create a layer mask.
Copy blue channel to a new alpha channel. Then Image >
Adjustments > Curves to make it strongly black and white (vertical line of
curves).
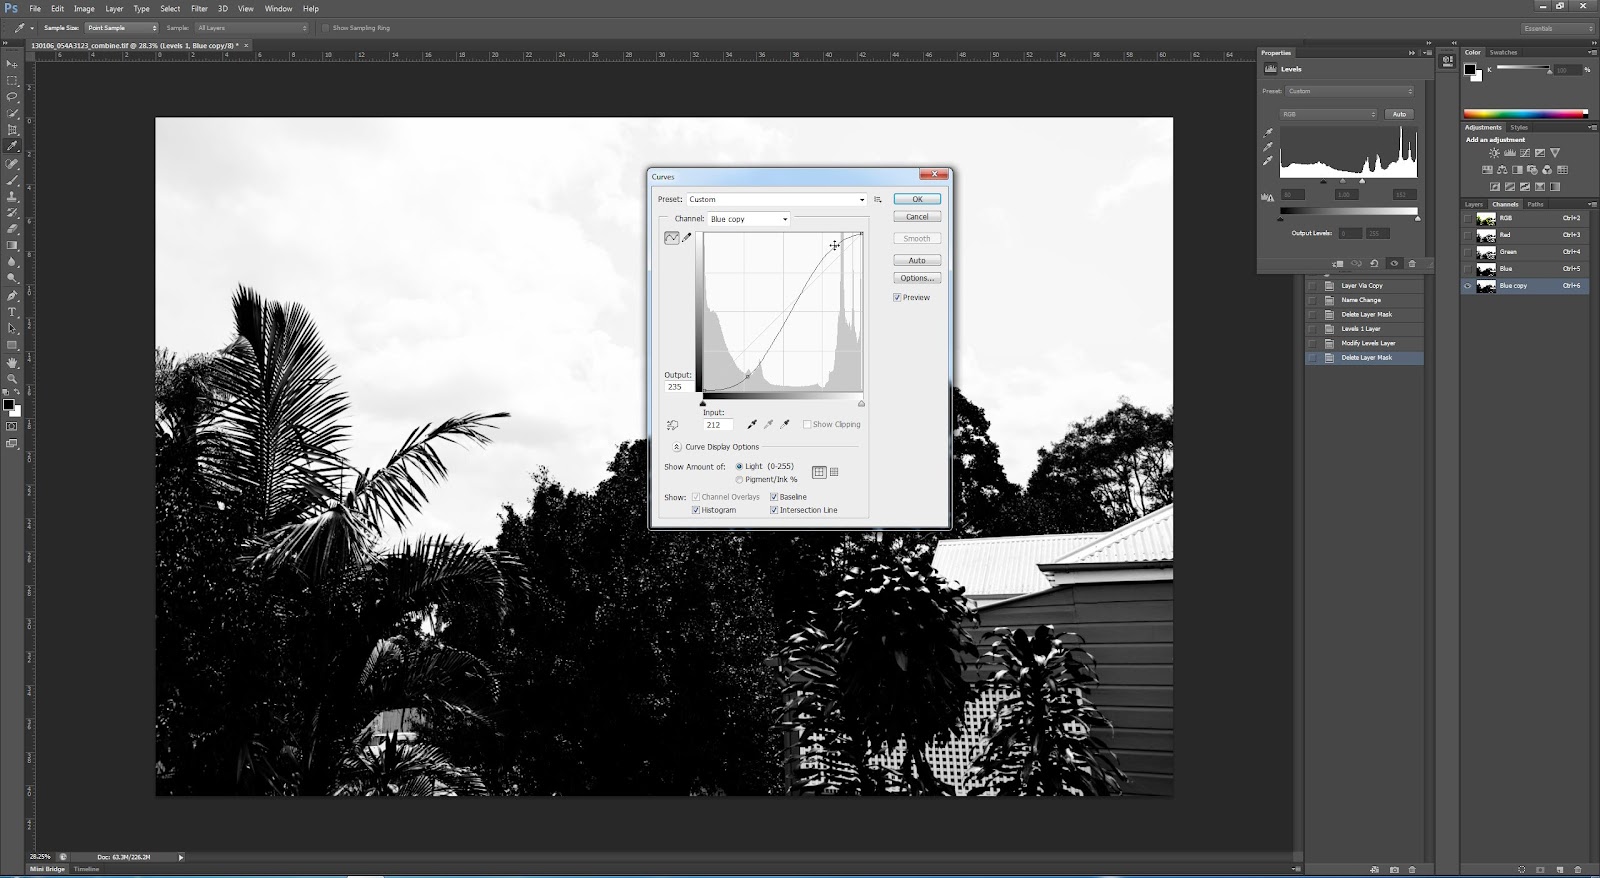 |
| Copied blue channel with first curves adjustment |
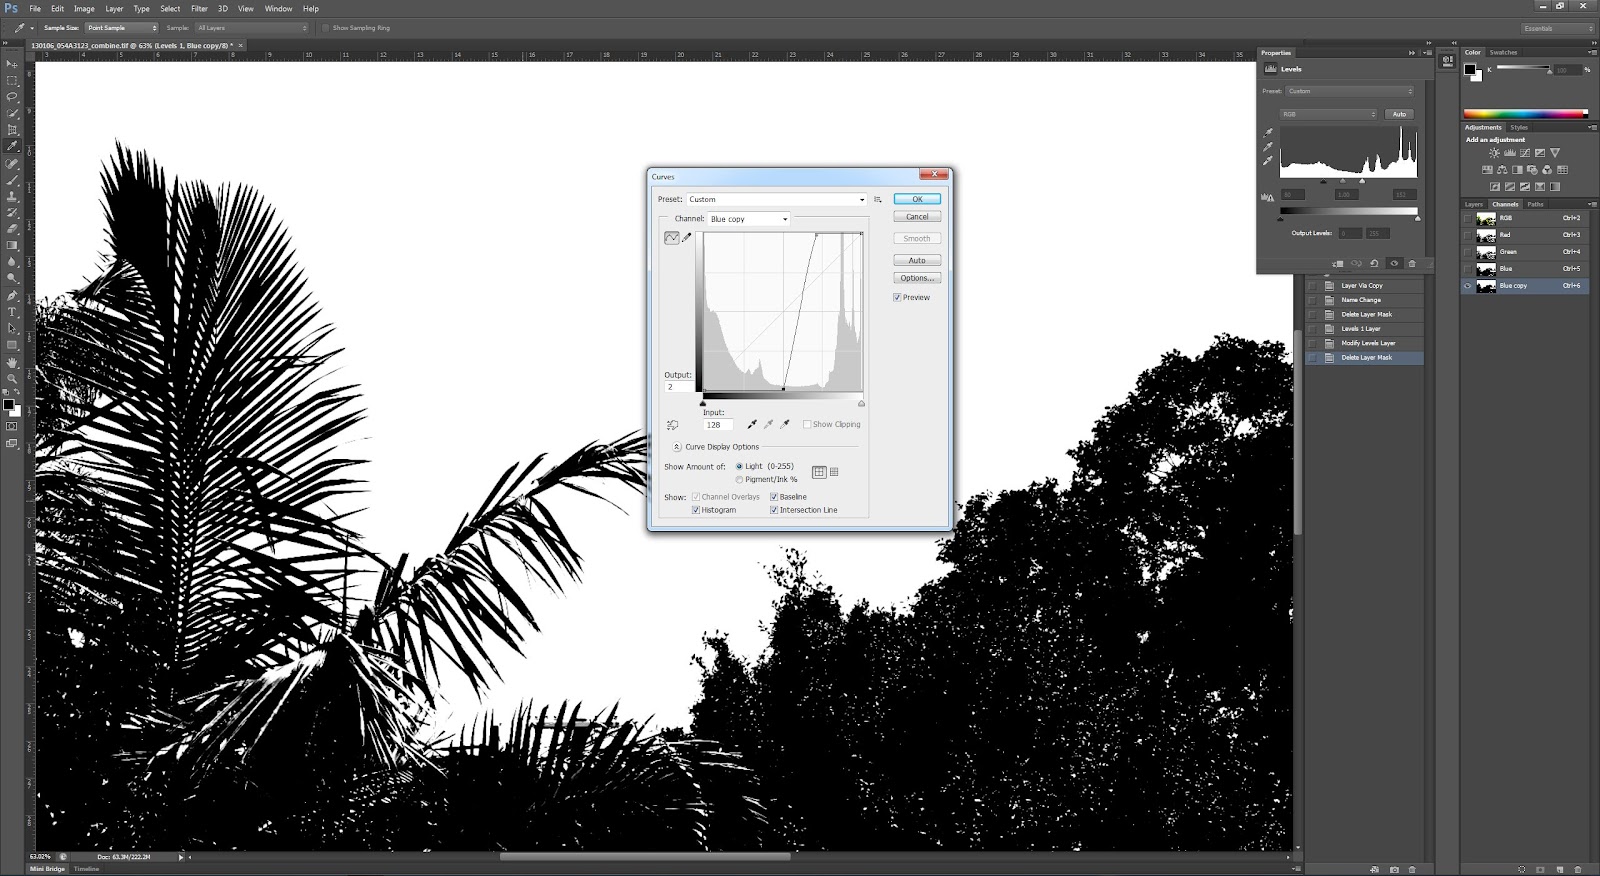 |
| Copied blue channel with near vertical curves adjustment, zoom in on sky area to show detail in between leaves |
Then paint with black brush the areas in the foreground I want masked
out.
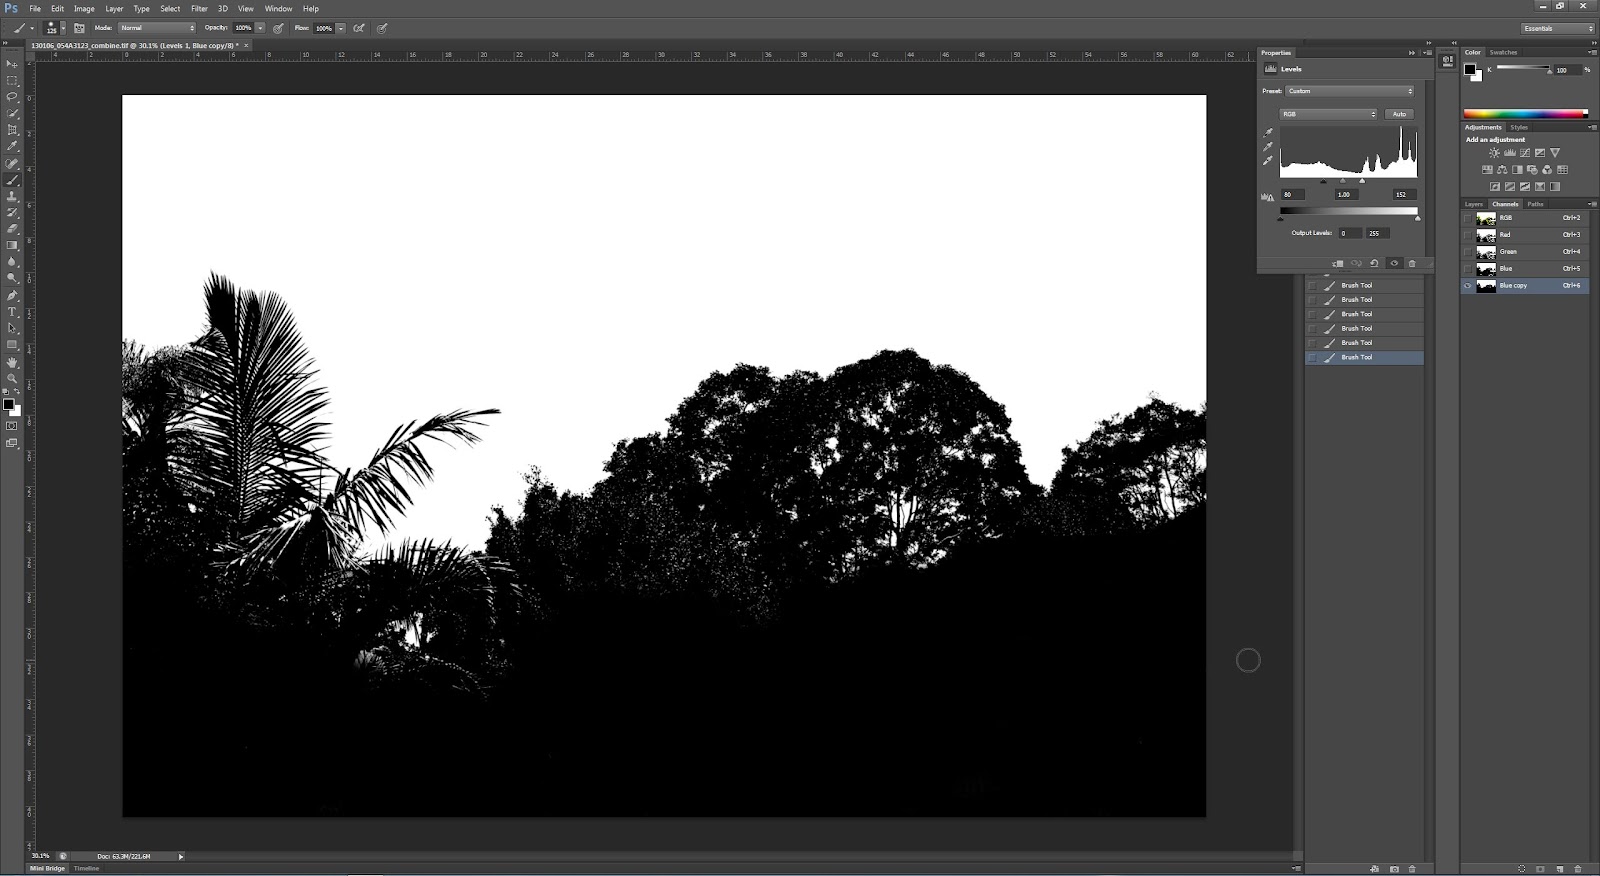 |
| Erased areas in bottom half of image that are not part of the mask using a black brush |
Then with copied blue channel active click on the dotted circle at the
bottom, and invert the selection. Then with the Layer 2 active (the sky layer)
click the ‘add mask icon’ at the bottom of the layers panel. A much more
detailed mask and quicker also.
 |
| Combined image using more detailed selection mask |
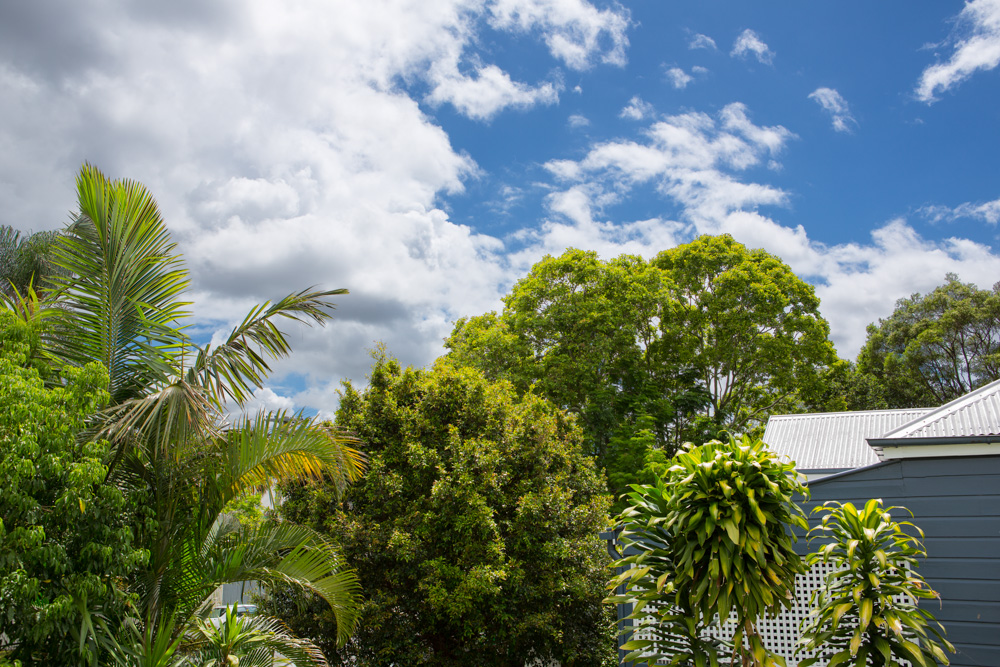
Next, choose another sky from another photo. Copy the sky,
paste as new layer and place behind the layer 2 so that it shows up above the
background layer. I just chose a simple blue sky, as it is the technique we are focussing on here. The colours roughly match those from my landscape image, and I just stretched the sky down to fill the whole area. When doing this technique it's important to look at any reflections (i.e., if replacing a blue sky with a dramatic cloudy image there may be blue reflections on some objects which need to be adjusted) and also consider the direction of light.
 |
| Image where i have taken the blue sky from |
 |
| New sky added using same technique with channels to create mask |
Conclusions:
I have learnt a few new Photoshop skills whilst doing this exercise. Selecting using the channels seems to be much more detailed and better for this exercise. I think I will definitely use this technique again for other images.
As for replacing a sky - I think the first example is quite reasonable - a kind of simplified HDR without all the fancy technique - fairly justifiable ethically. The second is a bit more dubious - replacing a large part of the picture with part of another picture, in this case from somewhere no where near the original is somewhat dubious. I think this is not really ethically sound for most kinds of photography apart from where it is clearly stated that there are large parts of the image that have been replaced. However, I know not all photographers will agree with this and they may think that it is fine. A spectrum of possibility...
References:
Better Photoshop Techniques Magazine, Issue 29 2012
No comments:
Post a Comment